Introduction
In this step by step tutorial we are going to use the The Solana Program Library (SPL) to create our very own Solana token.
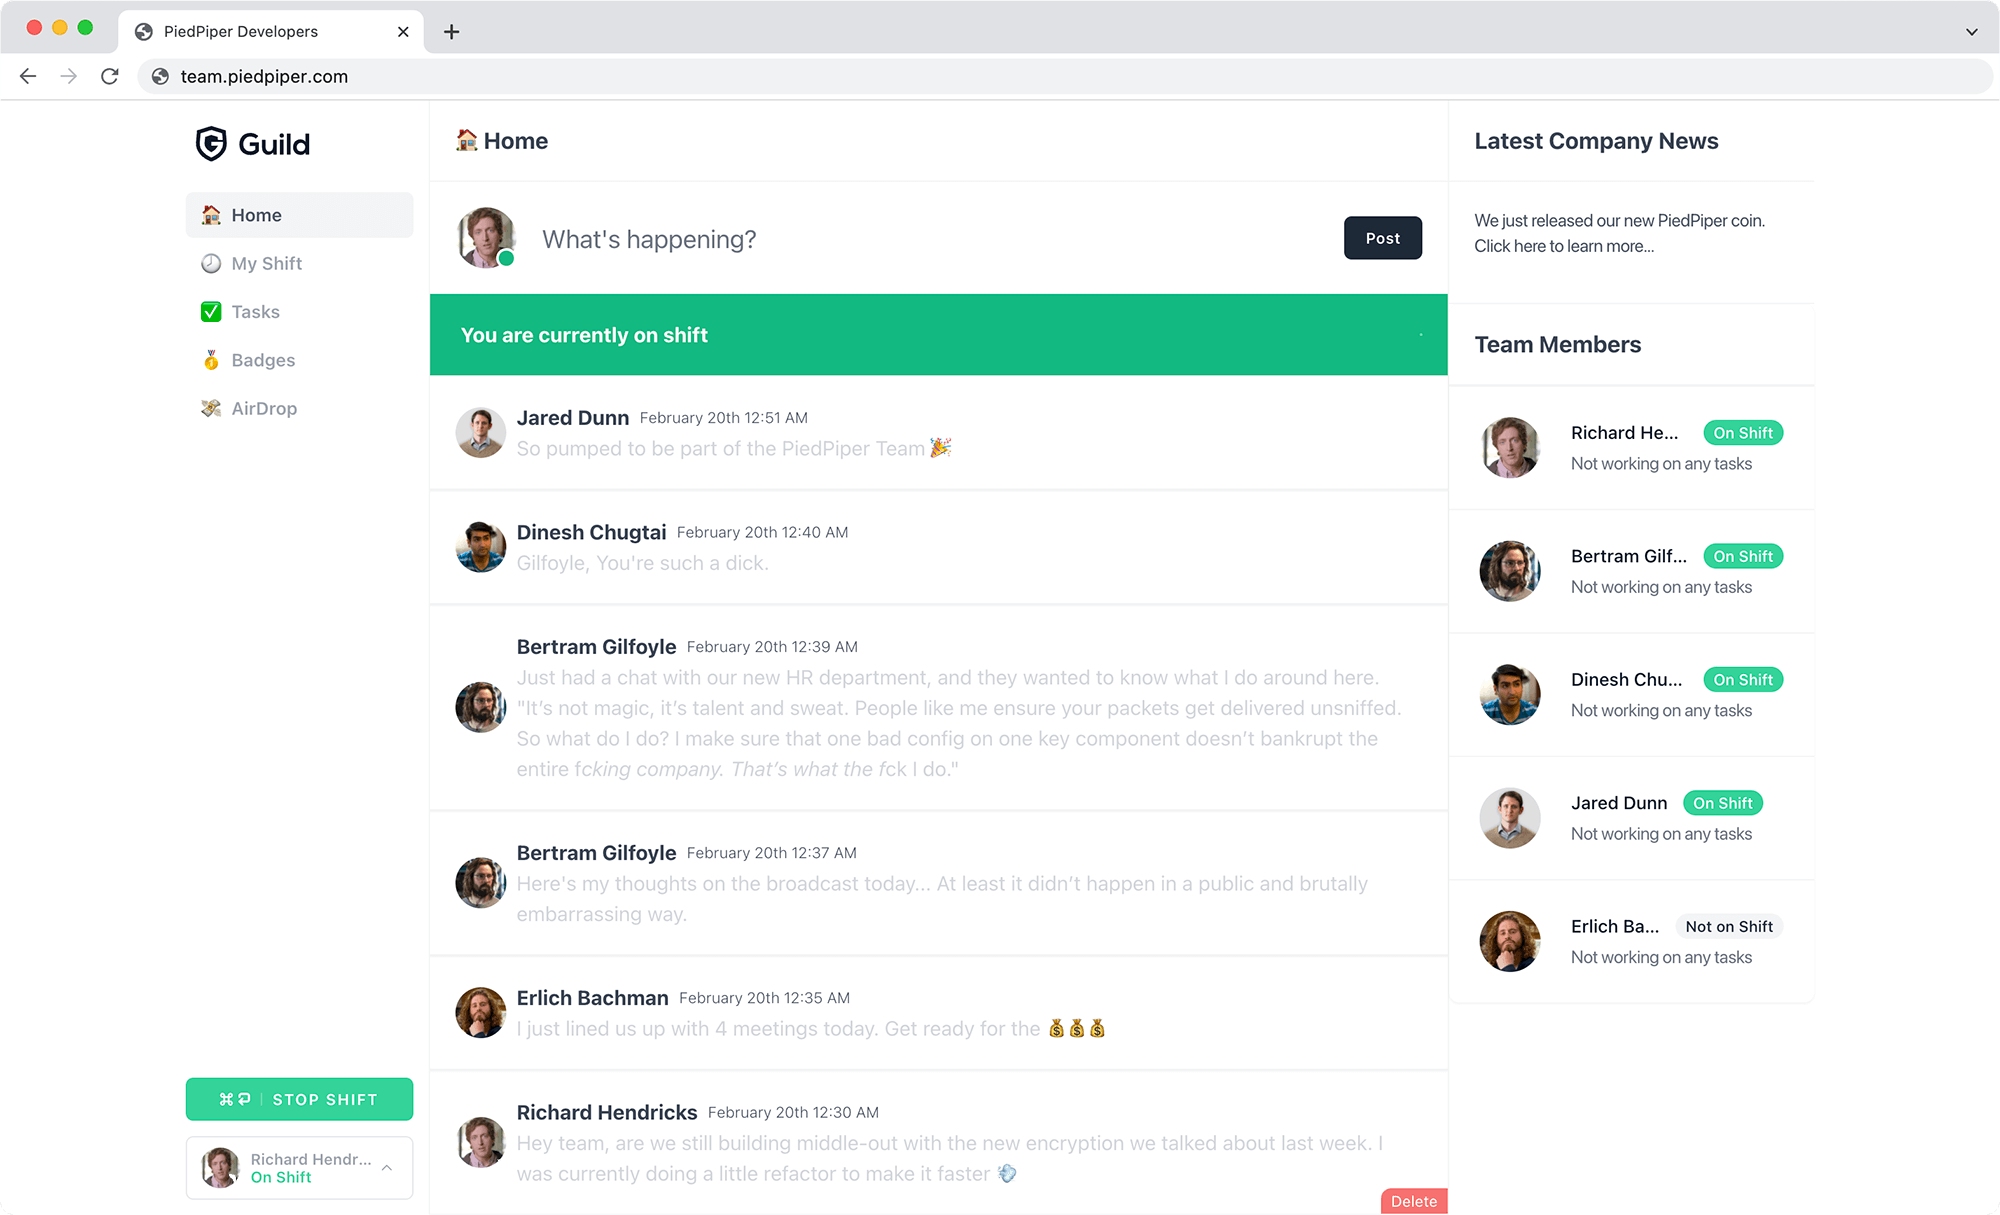
The steps from this tutorial can be used with the Guild.so project which is a project built for the Solana Riptide Hackathon 🚀.
Guild.so lets you incentivize your team with Crypto Rewards.

Prerequisites
Create a new Linux server, for this example we will use Ubuntu 21.10 with at least 2GB of RAM.
Make sure to do the initial setup of the server:
Also you would need to have a small amount of SOL to create the new token. You can buy SOL from here:
Install Solana
To install Solana just run the following command:
sh -c "$(curl -sSfL https://release.solana.com/v1.9.9/install)"
Once installed, you will be prompted to run an export command, so that you could add the solana binary to your PATH.
Once you run the export command, you can confirm that you have the desired version of solana installed by running:
solana --version
After a successful install, solana-install update may be used to easily update the Solana software to a newer version at any time.
Create a new wallet to hold your SOL
The SOL will be required to pay the small fee for creating a new token and making your transactions.
To create a new wallet, run the following command:
solana-keygen new
Once you run the command, you will be prompted to enter a password to encrypt your wallet. You can use any password you like, but it is recommended to use a strong password.
The output of the command will be a new wallet file, which you can use to send and receive SOL.
pubkey: 9ZNTfG4NyQgxy2SWjSiQoUyBPEvXT2xo7fKc5hPYYJ7b
Your private key will be stored in the file ~/.config/solana/id.json file.
Make sure to also save the recovery phrase in a secure location as it will be required to recover your wallet in the future if you lose your private key.
To check the balance of your wallet, run the following command:
solana balance
The output of the command will be the balance of your wallet, which should be 0 as you have not sent any transactions yet.
Once you have your wallet, you can send SOL to this new wallet as it will be needed to create your new token.
Send some SOL to your wallet
Go to your favorite cryptocurrency exchange and buy some SOL.
Then send the SOL to your wallet.
Keep in mind that it is recomended to have least $5 worth of SOL to create a new token and pay the transaction fees later on.
Then once you have sent the SOL, you can check the balance of your wallet again:
solana balance
The output of the command will be the balance of your wallet, which should be greater than 0 as you have sent some SOL to your wallet.
Installing Rust
We will need to compile Rust code to run the spl-token program.
If you have less than 1GB of RAM, you should add a swap file to your server. You can do that by running the following commands:
sudo fallocate -l 2G /swapfile
sudo chmod 600 /swapfile
sudo mkswap /swapfile
sudo swapon /swapfile
Then you can add the swap file to your /etc/fstab file:
/swapfile none swap sw 0 0
To install Rust, run the following command:
curl https://sh.rustup.rs -sSf | sh
This might take a while, so be patient.
Once you've installed Rust, make sure to again run the export command to add the Rust binary to your PATH.
Or alternatively, you can log out and log back in to your server to make sure the Rust binary is added to your PATH.
Installing the spl-token-cli
The spl-token-cli is a command line interface to the SPL program.
Before you can use the spl-token-cli you need to install the following dependencies:
sudo apt install libudev-dev libssl-dev pkg-config build-essential
Then you can install the spl-token-cli by running the following command:
cargo install spl-token-cli
Keep in mind that this will take a while, so be patient.
Create a new token
The next command will use some of your SOL to create a new token.
To create a new token, run the following command:
spl-token create-token
The output of the command will be a new token address:
Creating token AQoKYV7tYpTrFZN6P5oUufbQKAUr9mNYGe1TTJC9wajM
Signature: 47hsLFxWRCg8azaZZPSnQR8DNTRsGyPNfUK7jqyzgt7wf9eag3nSnewqoZrVZHKm8zt3B6gzxhr91gdQ5qYrsRG4
The string after the Creating token is your new token.
Make sure to note down the token address and the signature as you will need them later on.
Creating an account for your token
Next we will create an account that will hold the token.
To create an account for your token, run the following command:
spl-token create-account AQoKYV7tYpTrFZN6P5oUufbQKAUr9mNYGe1TTJC9wajM
Make sure to change the token address to the one you created in the previous step. (in the example above it was:
AQoKYV7tYpTrFZN6P5oUufbQKAUr9mNYGe1TTJC9wajM)
This will also require some SOL but very little.
The output of the command will be the new account address:
# $ spl-token create-account AQoKYV7tYpTrFZN6P5oUufbQKAUr9mNYGe1TTJC9wajM

Creating account 7UX2i7SucgLMQcfZ75s3VXmZZY4YRUyJN9X1RgfMoDUi
Signature: 42Sa5eK9dMEQyvD9GMHuKxXf55WLZ7tfjabUKDhNoZRAxj9MsnN7omriWMEHXLea3aYpjZ862qocRLVikvkHkyfy
Make sure to also note down the account address and the signature as you will need them later on.
Minting tokens
Once you have created your account, and the token, you can mint tokens!
Minting is basically the process of creating new tokens.
To mint tokens, run the following command:
spl-token mint AQoKYV7tYpTrFZN6P5oUufbQKAUr9mNYGe1TTJC9wajM 1000000 7UX2i7SucgLMQcfZ75s3VXmZZY4YRUyJN9X1RgfMoDUi
Rundown of the command:
-
spl-token mint: This is the command to mint tokens. -
AQoKYV7tYpTrFZN6P5oUufbQKAUr9mNYGe1TTJC9wajM: This is the token address. -
1000000: This is the amount of tokens to mint. For example, if you want to mint 1000000 tokens, you would enter1000000. Feel free to change this to any number you want. -
7UX2i7SucgLMQcfZ75s3VXmZZY4YRUyJN9X1RgfMoDUi: This is the account address that will hold the tokens.
To check the balance of your account, run the following command:
spl-token accounts
Output:
Token                                         Balance
------------------------------------------------------------
AQoKYV7tYpTrFZN6P5oUufbQKAUr9mNYGe1TTJC9wajM  1000000
Sending tokens
Lastly, you can send tokens to other accounts. Let's send some tokens to another account, for example you could create a new wallet by using the Phantom Wallet:
https://phantom.app/
Once you install the Phantom Wallet browser extension, and create your new wallet and get the wallet address.
Theb you can send tokens to the wallet by running the following command:
spl-token transfer --allow-unfunded-recipient --fund-recipient AQoKYV7tYpTrFZN6P5oUufbQKAUr9mNYGe1TTJC9wajM 10 23My7Z1zYoMBWn9PPGjcbP9ExKSheJw7dKHB6oHB9xSt
Rundown of the command:
-
spl-token transfer: This is the command to transfer tokens. -
--allow-unfunded-recipient: This is the flag to allow the recipient to receive the tokens even if they don't have an account yet. -
--fund-recipient: This is the flag to fund the creation of the recipient token account in case that it doesn't exist yet. -
AQoKYV7tYpTrFZN6P5oUufbQKAUr9mNYGe1TTJC9wajM: This is the token address. -
10: This is the amount of tokens to transfer. -
23My7Z1zYoMBWn9PPGjcbP9ExKSheJw7dKHB6oHB9xSt: This is the recipient address.
As Solana is very fast, you will see the tokens being transferred very quickly and they will be available in the recipient account.
Adding a limit to your token (Optional)
You could set a hard limit on the amount of tokens that can be minted.
This is a personal choice, but you could set a limit on the amount of tokens that can be minted with the following command:
spl-token set-limit AQoKYV7tYpTrFZN6P5oUufbQKAUr9mNYGe1TTJC9wajM 1000000
Adding your token to the Solana Token Program
Your token has now been created and you can see it in the Solana Blockchain Explorer:
https://explorer.solana.com/
However the next step is to add your token to the Solana Token Program!
There are a few things you need to have before getting started:
- A logo for your token: Make sure that your logo is square and that it is no larger than 200kb in size.
- A name for your token: To check if a token name is available, check the current list of tokens in the Solana Token List repository in the
src/tokensfolder in a file calledsolana.tokenlist.json. - You would need to have GitHub account.
Forking the Solana Token List Repository
Go to the Solana Token List repository and click on the Fork button.
Adding your token to the Solana Token List
Once you have forked the repository, you can make the changes to add your token to the list on your fork.
To do this follow the steps below:
- Go to the
assets/mainnetdirectory. - Create a new directory for your token, it needs to have the exact same name as the token address.
- Then in the new directory, upload your logo. It should be named
logo.png. - Then go to the
src/tokensdirectory and edit thesolana.tokenlist.jsonfile. Every single token is registered in this file. - Edit the
solana.tokenlist.jsonfile and scroll down to the bottom of the file and add your token by adding the follwoing details for your token:
{
    chainId: 101,
    address: "YOUR_TOKEN_ADDRESS",
    symbol: "YOUR_SYMBOL",
    name: "YOU_TOKEN_NAME",
    decimals: 9,
    logoURI: "LINK_TO_YOUR_LOGO",
    tags: [
        "social-token"
    ]
},
Make sure to have a correct JSON syntax, otherwise, the token won't be added to the list.
- Finally, commit your changes and push them to your fork and then submit a pull request to the Solana Token List repository.
In a few hours, your token will be added to the list and you can see it in the Solana Token Explorer:
https://explorer.solana.com/tokens
Conclusion
We built guild for the Solana Riptide Hackathon, and we're excited to build a management tool that puts the fun back into team work while incentivizing employees with crypto rewards.
Be sure to check out updates that we'll be posting on our twitter account: @guild_dot_so
